


How to Install Your ExBrite Bathroom Mirror: Step-by-Step Installation Guide
Installing your new bathroom mirror can instantly transform the space—making it brighter, more balanced, and more functional. Whether you’ve chosen a minimalist frameless design or a smart LED mirror from ExBrite, following the correct installation steps ensures both safety and a clean, professional look.
This guide walks you through the entire installation process, from preparation to final setup.
Tools & Materials You'll Need
Before you begin, gather the following tools and accessories to make the process smooth:
·Power drill
·Level
·Tape measure
·Screwdriver
·Anchors and screws
·Pencil or marker
·Safety gloves
✅ Tip: Check your ExBrite package before starting—each mirror comes with the proper mounting hardware and an instruction manual.If your manual is missing, you can download a digital copy directly from product page under the product’s “Instruction” section.
Determine the Mounting Type
ExBrite mirrors can be installed in two orientations depending on your bathroom layout and personal preference:
(a) Horizontal Installation
Ideal for wide vanities or double-sink setups. It provides a balanced look and offers broader illumination across the countertop area.
(b) Vertical Installation
Perfect for single-sink vanities or narrower wall spaces. It creates a taller visual effect and enhances symmetry in compact bathrooms.
/ Pro Tip: Most ExBrite mirrors can be installed either horizontally or vertically—just make sure the power cable and mounting brackets are aligned correctly before drilling.

Step-by-Step Installation Instructions
Step 1: Mark the Mounting Position
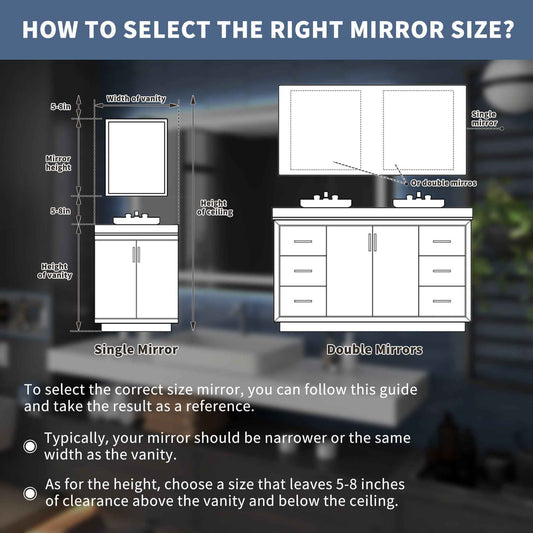
Determine the ideal mirror height—typically, the mirror should be leave 5–8 inches of clearance above the vanity and below the ceiling.
Mark the position with a pencil, then use a level to ensure perfect alignment.
Step 2: Drill the Mounting Holes
Using the correct drill bit for your wall type (tile, drywall, or concrete), create holes where you’ve marked. Insert wall anchors or plugs to secure the screws firmly.
Step 3: Connect the Wires
ExBrite mirrors support two power connection options — hardwired or plug-in — to suit different bathroom setups.
·Hardwired Connection: Connect the mirror’s wires directly to the wall power supply (with the power off).
Black → live wire
White → neutral wire
Green → ground wire
Ensure all connections are tight and waterproof.
·Plug-In Connection: Simply attach the power cord to a GFCI-protected outlet. This method is ideal for temporary or DIY installations.
❗Safety Reminder: Always shut off the circuit breaker before handling electrical wiring.If you’re unfamiliar with electrical work, hire a licensed electrician to complete the connection.
Step 4: Mount the Mirror
Attach the mounting bracket or support plate to the wall. Then carefully hang the mirror, ensuring that it sits evenly and securely.

Step 5: Test the Features
Turn the power back on and test all features—LED brightness, dimming, color temperature, and defogging. Everything should operate smoothly.
Adjust and Final Touches
Once the mirror is mounted, make small adjustments to achieve perfect alignment. Wipe the surface clean to remove dust and fingerprints.
If your model includes dimmable lighting or color temperature control, experiment until you find your preferred brightness and warmth level for daily use.
Troubleshooting & Common Mistakes
Even with a straightforward setup, small issues can occur.
·Lights not working: Check the wiring connections and ensure the wall switch is on.
·Mirror uneven: Re-measure and adjust the mounting holes or bracket.
·Defogger not heating: Make sure the power connection is secure and the touch sensor is functioning.
Addressing these minor details early ensures long-term performance and safety.
To Contact Professional Help
If your bathroom wall is tiled, contains hidden electrical lines, or requires recessed wiring, it’s best to consult a licensed electrician or contractor.
ExBrite’s customer support team can also guide you with additional installation videos or troubleshooting resources.
Conclusion
Installing your ExBrite bathroom mirror is a simple project that adds both elegance and practicality to your space. With the right tools, careful measurements, and a few safety checks, you can achieve a professional finish in less than an hour.
✨ Ready to explore more?
Browse our full collection of ExBrite LED mirrors and installation resources at allsumhome.com — and bring modern brilliance to your bathroom today.


